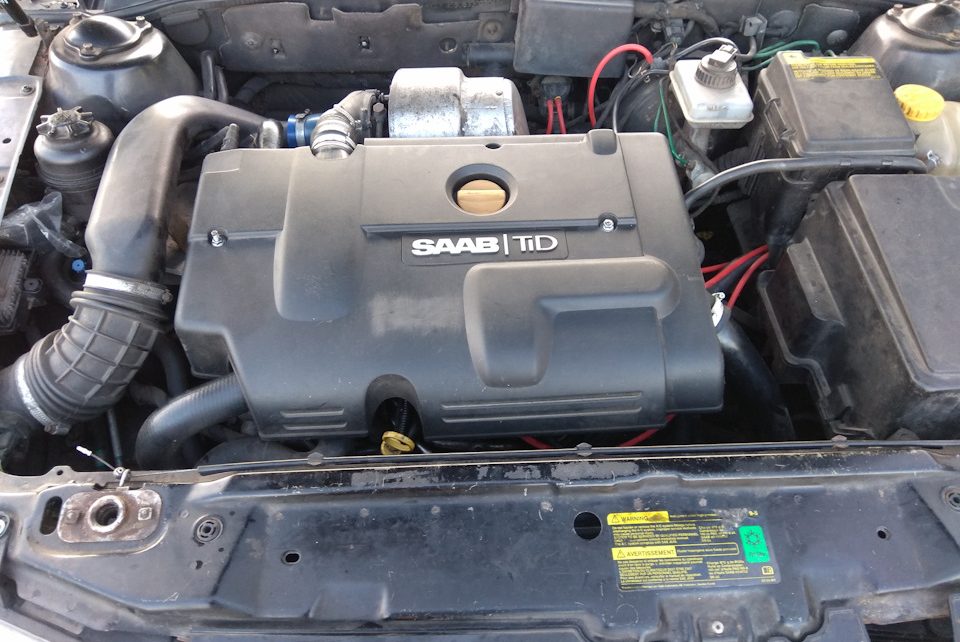
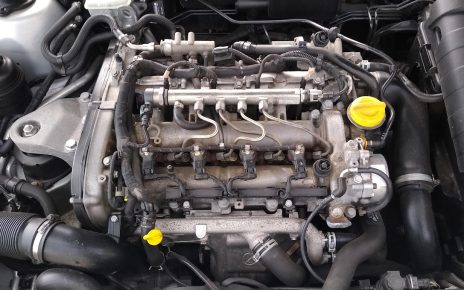
With the arrival of autumn, many Saab 2.2 TiD owners have started experiencing cold start-up issues. This is an easy thing, and it’s time to break it down in detail. Let’s fix the standard issue: Saab 2.2 won’t start.
Step 1: Don’t Panic
Don’t worry, your engine isn’t dead—these are known for their durability. It’s not time to send it to the scrapyard or blame it on some mysterious problem. The reality is much simpler – it’s 2024, and after nearly two decades of service, it’s time to replace a few rubber seals that have been working for 19, and on earlier cars even 25 years.
As you may know, the Saab 2.2 engine is particularly sensitive to air in the fuel system. Unfortunately, when General Motors made changes to the Saab 9-5 with this engine, they removed the electric fuel pump, opting to rely solely on vacuum. It’s likely that no one anticipated these cars would still be driven 20 years later.
We’re still driving them, and to keep them running smoothly, you’ll need to set aside about three hours and open the bonnet.
Step 2: Quick Diagnostics
There are several potential causes of air entering the system:
- Loose air filter housing: Visually, you’ll see fuel dripping from under the rear right wheel well.
- Worn fuel supply hoses: They may appear porous or hardened, losing their tight seal.
- Loosely tightened fuel inlet bolt at the pump: Visually, fuel will leak directly under the front bumper.
- Worn injector sealing rings and bridges: This is harder to detect visually, but if your Saab won’t start when it’s cold, especially when parked nose-up, this is likely the culprit. These will need replacing, but luckily, the job only takes about 3 hours with breaks.
Step 3: Testing for Injector Seal Issues
To confirm that the issue lies with the injector seals and bridges, follow this method:
- Pinch the long return fuel line and leave it for 6-8 hours, ideally with the car nose-up. Attempt to start the car without removing the clamp:
- If it starts, the low-pressure return hoses need replacing.
- If it still doesn’t start, the issue is likely the sealing ring on the fuel inlet bolt to the pump.
- If neither of these solves the problem, use a syringe to draw diesel from the return line. If the diesel is black, it indicates that oil is leaking into the return line through the failing injector and bridge seals.
Step 4: What You’ll Need
If the diagnosis points to injector and bridge seals, here’s what you’ll need:
- 4 x part number 90502704 – ring between the bridge and the injector.
- 4 x part number 90500732 – ring between the bridge and the cylinder head.
- 1 x part number 90571911 – cover gasket.

Step 5: The Process
Here’s how to proceed:
- Remove the intake, as it will block access to the bridge later.
 Intake and EGR out
- Remove the valve cover, the vacuum pump, and loosen the 10 camshaft bolts by about a centimeter. This makes it easier to remove the bridge and rings.
- If you’re planning to remove the camshaft, make sure to lock the crankshaft and fuel injection pump, and mark the camshaft sprocket and chain.
 Camshaft Bolts
- Unscrew the four bridge bolts and remove them to replace the O-rings.
 Bridge bolts
 Replacing O-rings
- After lifting the camshaft slightly, you’ll have access to the injector rings, which can easily be removed with a flathead screwdriver.
 Injector rings
 Removing injector rings
- Replace the Injector Seals – after 20 years in an aggressive environment, the old ones will have deteriorated and started leaking.
 Old is flat
 Old is damaged
Step 6: Reassembly and Final Steps
Reassemble everything in reverse order, using the following torque specs:
- 20Nm for the camshaft bolts.
- 5Nm and 360 degrees for the fuel bridge bolts.
- 10Nm for the upper and 20Nm for the lower intake manifold bolts.
If you don’t have a pump to bleed the fuel system through the front nipple of the fuel line, loosely attach the fuel supply lines at first. Crank the engine until fuel starts flowing out of all four lines, then fully tighten them. Be prepared to crank the engine for up to five minutes before it starts, and you may need to connect jumper cables to another car to keep the starter going.
After this procedure, your Saab 2.2 should start reliably in any condition – whether it’s nose-up, nose-down, at -20°C or +40°C, it will fire up in just three turns of the engine.
Done and happy flying!
We compiled this information from the experiences of fellow 2.2 owners, service manuals, and insights from authorized service centers. We hope this guide helps keep your Saab running smoothly for many more miles. After all, why else do we drive Saabs if not for the joy they bring?
Boost to all and stay tuned for more interesting content. There’s plenty more to come!


Comments on Saab 2.2 Not Starting? Let’s Fix It